call us: +31203311214
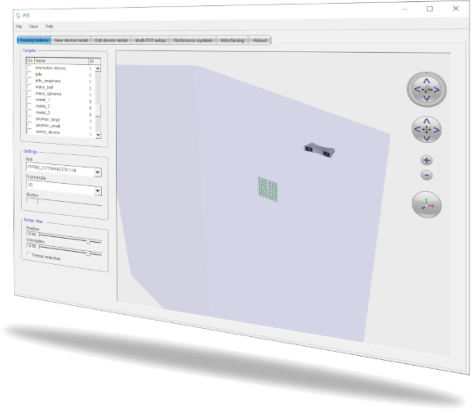
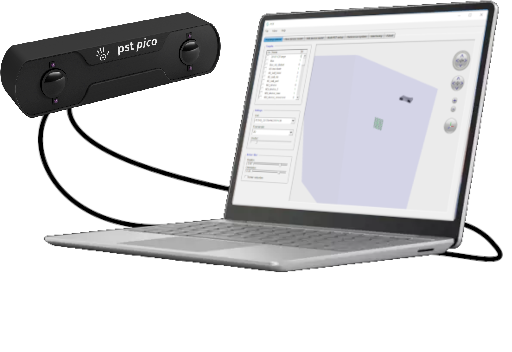
Getting Started with Optical Tracking
A structured setup guide for high-precision and stable 6DoF performance
This step-by-step guide ensures your PS-Tech optical tracking system is installed and configured for maximum accuracy and long-term stability.
Step 1: Download the PST Software Suite
Download the latest PST Software Suite for your platform and install it to start tracking.
Step 2: Connect the PST to your computer
Next, connect the USB cable(s) to your computer and power the PST unit. Then position the unit so it oversees the tracking workspace. For optimal performance, mount it on a tripod.
Step 3: Prepare your tracking target
Apply a random pattern of retro-reflective markers to your device to create the tracking target. Also, ensure the PST unit sees at least four markers at all times during operation.
Step 4: Train your tracking target
Launch the PST-Client software and train your tracking target using our streamlined procedure. Save the target model so the PST unit detects it. Or, if you already have a 3D model, convert it to a JSON-based target model and import it via PST-Client.
Step 5: Start tracking
After that, activate your new tracking target, move it in front of the PST unit and watch it track in real-time! Now you’re ready to begin using the tracking data.
Step 6: Start working
Setting up optical tracking is easy with PS-Tech. Export and analyse your 6DoF tracking results directly, or integrate them into your application using the PST SDK. Moreover, we support multiple industry-standard protocols and provide C++, C, C#, and Python APIs.

PST SDK
Direct integration of the PST tracker with your application
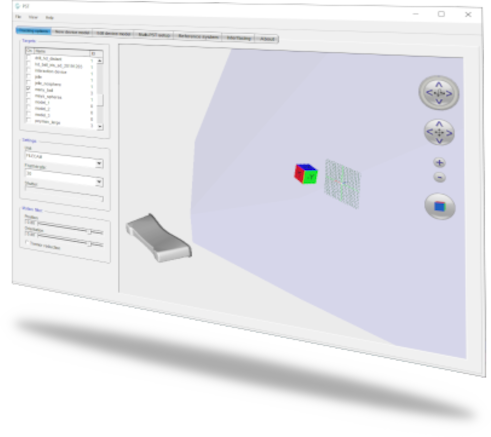
Standard protocols
Make tracking results available through standardized interfaces

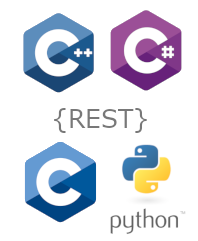
Classic PST SDK (legacy)
Legacy C API with limited functionality and C# and Python bindings
